
How to Organize a Small Fridge Without Losing Food
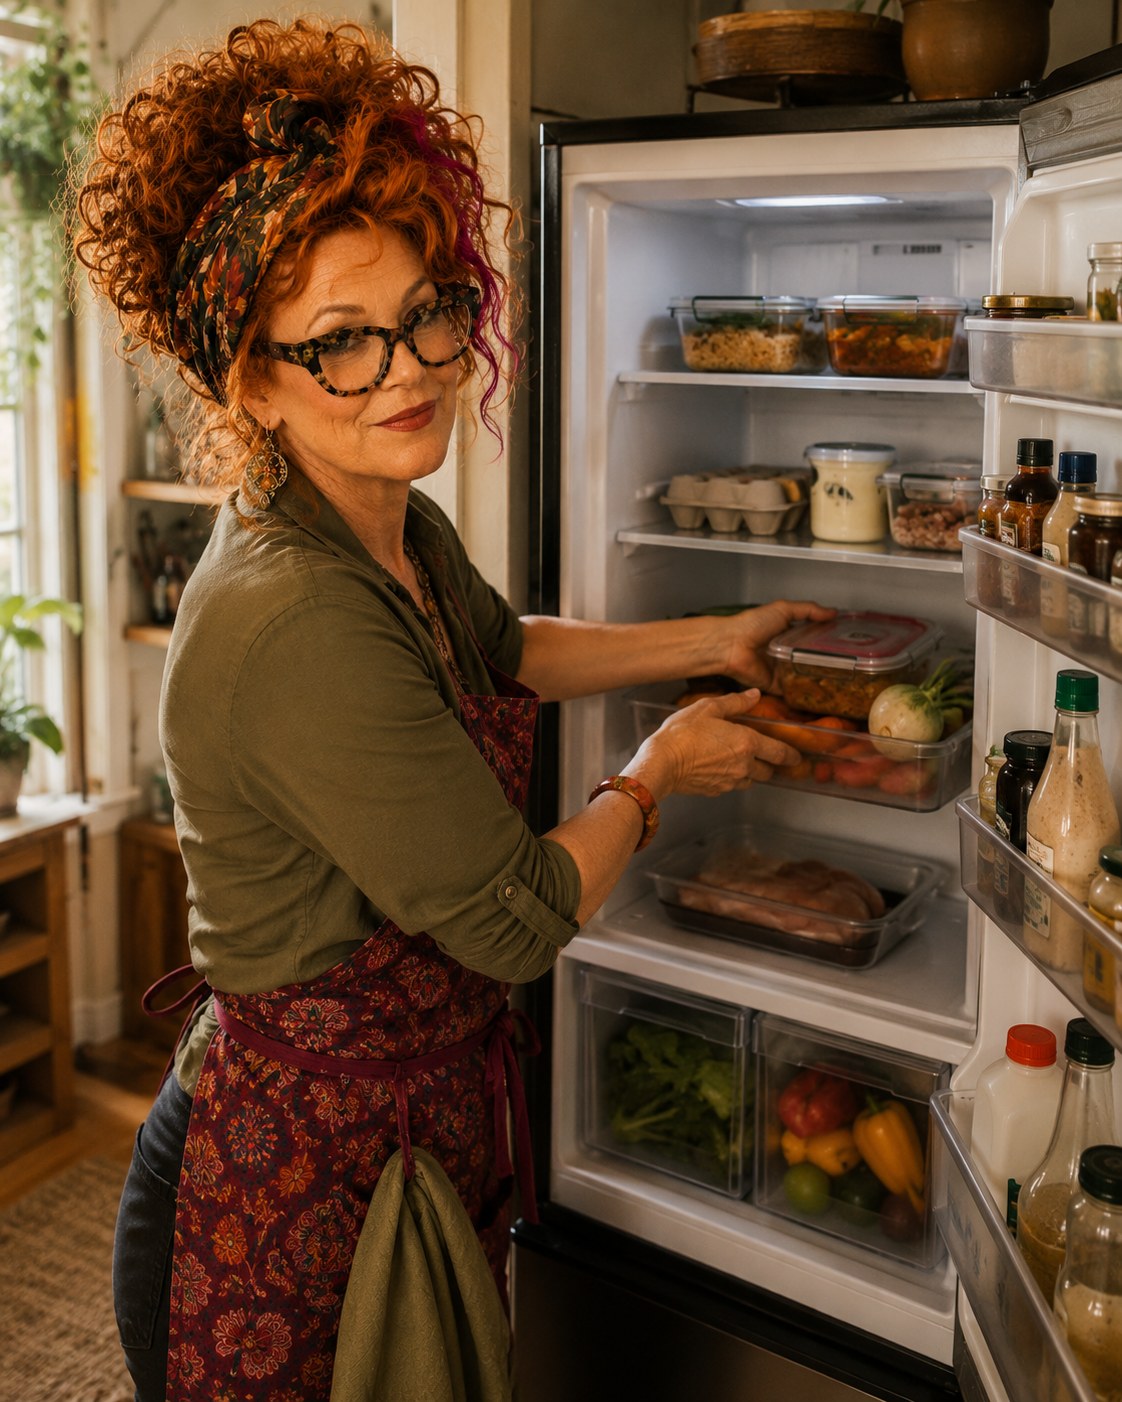
A small refrigerator is easy to fill and hard to read. The problem is not simply capacity. It is that a yogurt cup can hide behind a takeout container, raw ingredients can end up above ready-to-eat food, and produce drawers can become sealed archives. Good small-fridge organization makes food safer, visible, and easier to use before it spoils.
Organize a small fridge in this order: confirm it stays at or below 40°F, keep ready-to-eat food and leftovers visible, contain raw meat on the lowest practical shelf, use drawers for produce, and reserve the door for condiments and other temperature-tolerant items. Add one small "use first" zone, avoid overfilling, and reset the fridge before grocery shopping.
Check temperature, shelf clearance, and air circulation first
Use an appliance thermometer to confirm the refrigerator stays at or below 40°F. Then measure shelf width, depth, and the gaps between shelves before buying bins. Leave space around vents and between tightly packed items so cold air can circulate. An organizer that fits physically but blocks airflow or hides half the shelf is not improving the fridge.
1. Start with food safety, not matching containers
Before reorganizing, discard spoiled food, wipe spills, and check whether the fridge is maintaining a safe temperature. Put perishable groceries away promptly and keep food covered or sealed.
The visual makeover comes after the fridge can answer three questions:
- Is it cold enough?
- Can raw food leak onto ready-to-eat food?
- Can you see what needs to be eaten next?
2. Create a visible ready-to-eat zone
Use the easiest eye-level shelf for food that can become a meal without additional cooking:
- leftovers
- prepared lunches
- yogurt
- cut fruit
- dips
- cooked grains
- opened ready-to-eat foods
Keep containers shallow enough to see behind them. If leftovers disappear, the answer is usually one visible row—not a deeper bin.
3. Put a “use first” area at the front
Choose one small tray, shelf corner, or front row for food that should be used soon:
- opened packages
- leftovers approaching their planned use date
- produce beginning to soften
- half containers of ingredients
- single servings that otherwise vanish
Do not turn this into a miscellaneous bin. Its job is urgency. When it fills, plan the next meal around it before adding more groceries.
4. Keep raw proteins low and contained
Store raw meat, poultry, and seafood sealed in a leak-resistant tray or container on the lowest practical shelf. This reduces the chance that a damaged package can drip onto ready-to-eat food below it.
A shallow washable tray is useful here because it contains leaks and can be removed for cleaning. Do not use the same bin for produce or cooked food without washing it thoroughly first.
5. Give produce drawers distinct jobs
If the fridge has two drawers, divide produce in a way you can remember—commonly fruits in one and vegetables in the other. Keep delicate greens visible near the top of the drawer instead of buried beneath heavy produce.
Do not wash every item before storage unless the food benefits from it and can be dried thoroughly. Excess moisture can shorten the life of some produce. The practical goal is to know what is in each drawer and check it weekly.
6. Keep eggs and dairy inside, not in the warmest door spots
Store eggs in their carton inside the refrigerator rather than in the door. Use stable interior shelves for milk and other dairy that benefit from more consistent cooling.
The door experiences more temperature change as it opens. Use it for items that are generally more tolerant of fluctuation:
- condiments
- sauces
- pickles
- jams
- bottled dressings
- some beverages
Do not let a generic molded door compartment override the actual storage needs of the food.
7. Use bins only for problems that bins solve
Useful small-fridge bins include:
- a leak tray for raw proteins
- a narrow “use first” tray
- one breakfast or lunch bin if several small items always travel together
- a can dispenser only when it improves visibility without blocking airflow
Skip bins when they:
- have thick walls that waste precious width
- are too deep to see the back
- require removing an entire container for one item
- block vents
- turn mixed leftovers into a mystery category
Clear plastic is not automatically visible if the bin is packed three layers deep.
8. Avoid crowding the fridge solid
Cold air needs room to circulate. Do not force every shelf into a wall of containers. If groceries only fit when they are pressed against vents and stacked unpredictably, the next step is reducing duplicates or moving appropriate items to the pantry—not adding another organizer.
A small fridge works better with a little deliberate empty space than with perfect geometric packing.
9. Reset before grocery shopping
A five-minute reset prevents duplicates and waste:
- Check the “use first” zone.
- Look through leftovers.
- Check produce drawers.
- Confirm milk, eggs, and frequently used staples.
- Wipe any spill while it is small.
- Move older items to the front before adding new ones.
- Build the shopping list from what is actually missing.
The reset is more valuable than a full reorganization every few months because it keeps the system alive.
Do not buy refrigerator organizers if…
- You have not measured the shelf, door, and drawer interiors.
- The bin would block a vent or prevent the door from closing freely.
- You cannot see through or over it when it is full.
- It solves a category you do not actually keep in the refrigerator.
- The fridge is crowded because of duplicates, expired food, or oversized packaging.
- You are trying to store raw and ready-to-eat food together in one pull-out bin.
A simple small-fridge zone map
Eye level: leftovers and ready-to-eat food
Stable interior shelf: eggs in carton, dairy, frequently used ingredients
Lowest practical shelf: sealed raw meat, poultry, and seafood in a leak tray
Drawers: produce, separated into memorable categories
Door: condiments and temperature-tolerant items
Front corner: small “use first” zone
The exact shelf heights vary by appliance. The logic—temperature, contamination risk, and visibility—matters more than copying a photograph.
Frequently asked questions
What temperature should a refrigerator be?
Keep the refrigerator at or below 40°F (4°C) and the freezer at 0°F (-18°C). An appliance thermometer is more reliable than guessing from the control dial.
Where should raw meat go in a small refrigerator?
Keep raw meat, poultry, and seafood sealed in a leak-resistant tray or container on the lowest practical shelf so drips cannot fall onto ready-to-eat food.
What should be stored in the refrigerator door?
Use the door for condiments, sauces, pickles, and other items that tolerate temperature changes. Keep eggs in their carton inside the refrigerator rather than in the warmer door.
Are refrigerator bins worth it in a small fridge?
Bins help when they create a clear category or contain leaks. They hurt when thick walls waste shelf width, hide food, or block cold-air circulation. Measure first and use the fewest bins that solve a real problem.
Winnie’s take: The fridge is not a storage unit with a lightbulb. Put tomorrow’s lunch where you can see it, raw chicken where it cannot betray anybody, and condiments in the door where they can hold their annual convention.
How we choose
This how to is research-led, not a claim of hands-on laboratory testing. We compare public product specifications, recurring patterns in buyer feedback, and the measurements that matter most for a real small-kitchen constraint. Recommendations are organized by who each option fits, what to measure, and when to skip it—not by commission rate.
Last reviewed: July 10, 2026