
How to Organize a Small Kitchen With No Pantry

A small kitchen with no pantry doesn’t need more random storage. It needs a pantry system built out of the space you already have: one cabinet zone, one door or wall zone, one overflow zone, and one visible daily-use zone. The trick is to stop treating every shelf like a miscellaneous landing pad and start giving food categories a real address.
To organize a small kitchen with no pantry, create pantry zones instead of looking for one perfect cabinet. Use a daily-use cabinet for staples, a door rack or wall shelf for spices and small items, a slim rolling cart for overflow, and clear bins for snacks or backup goods. Keep only weekly-use food within easy reach.
No pantry isn’t the same thing as no system — it just means your pantry has to be distributed. A cabinet can be the dry-goods zone, the back of a door can be the spice zone, a slim cart can be the backup shelf, and one small bin can be the snack department. Very democratic. Slightly bossy. Effective.
The problem no-pantry kitchens actually have
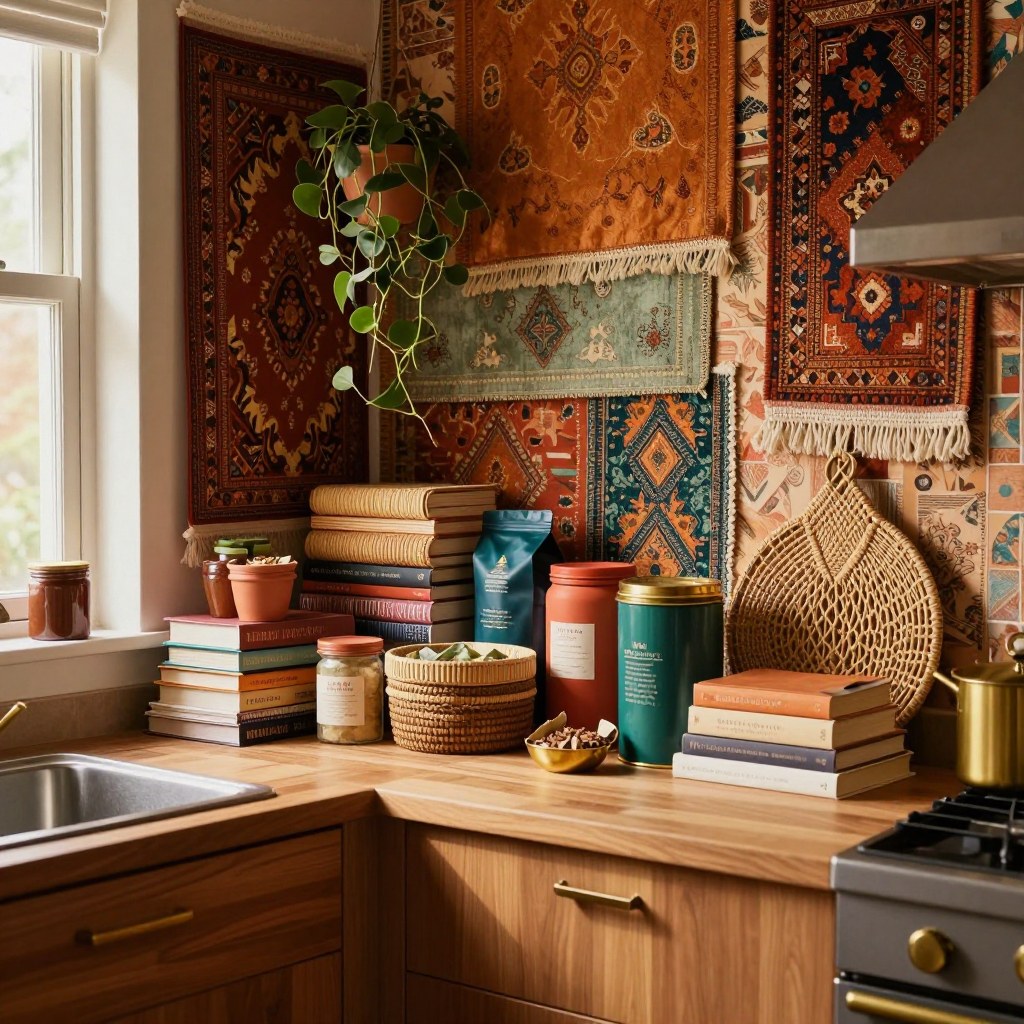
When pantry items don’t have a home, they migrate to the counter — coffee, snacks, cereal, pasta, vitamins, and reusable bags all start acting like they pay rent. A no-pantry kitchen also tends to force food, cookware, dishes, and cleaning supplies into the same few cabinets, which works for about three days before the pasta vanishes behind the blender. The real cost isn’t just clutter — it’s buying another bag of rice because the first one is hiding behind three half-open snack boxes.
Measure before you buy a single organizer
Before buying organizers, measure the spaces that could become pantry zones: cabinet shelf height, door width, the gap beside the fridge, the wall area near the prep zone, and any empty space above cabinets. Then decide which food categories deserve the easiest access — daily-use items get the prime spots, backup goods can live higher, lower, or on a cart. Measure inside cabinet width, depth, and shelf height, pantry-door width, the gap beside your fridge or stove, under-shelf clearance, any renter limits on mounting hardware, and your primary user’s actual reach height.
Building the system, zone by zone
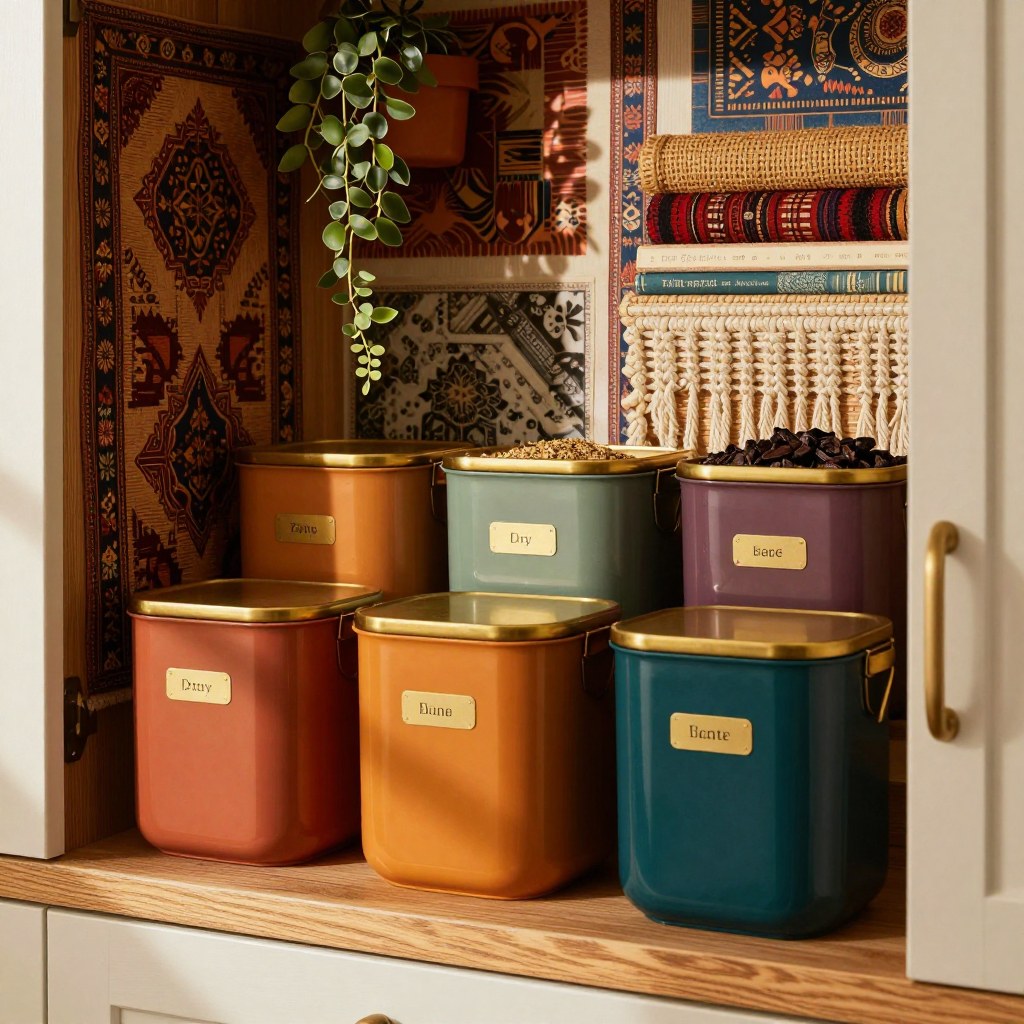
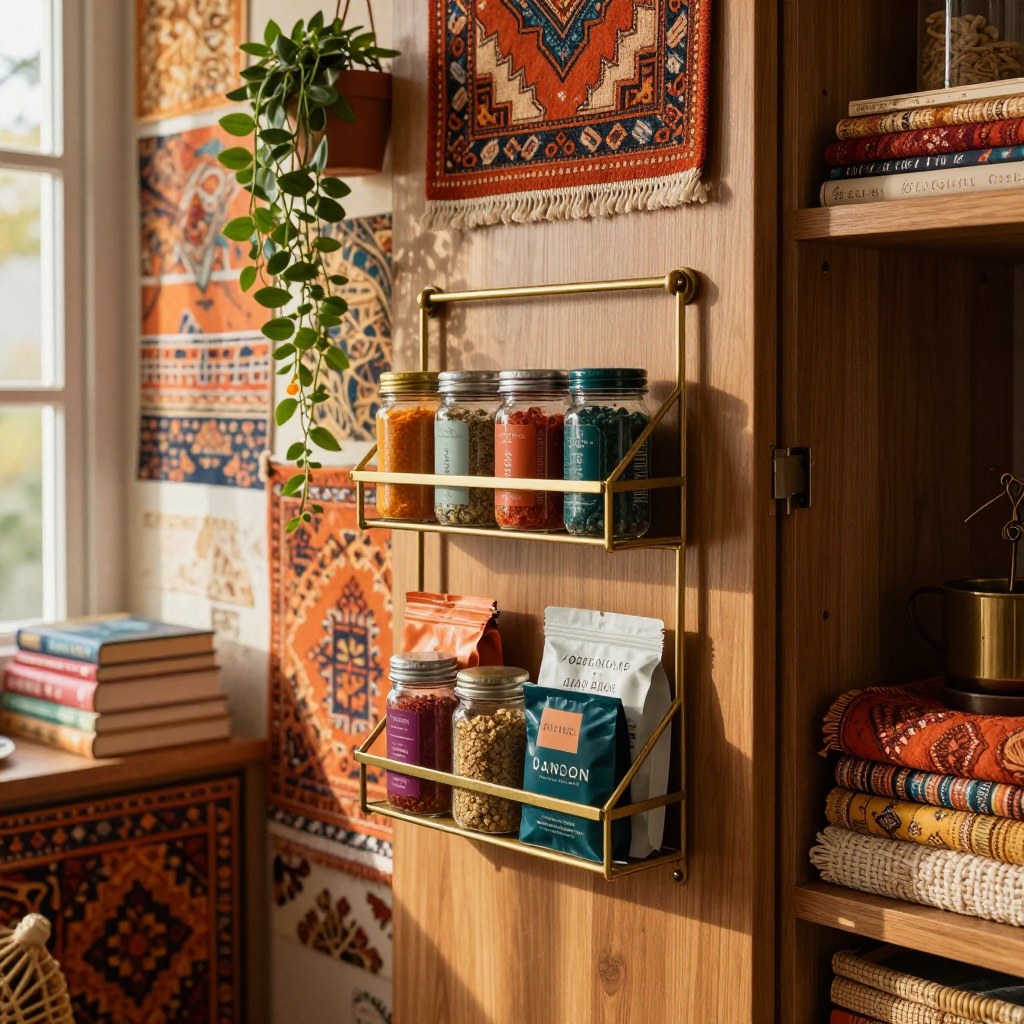
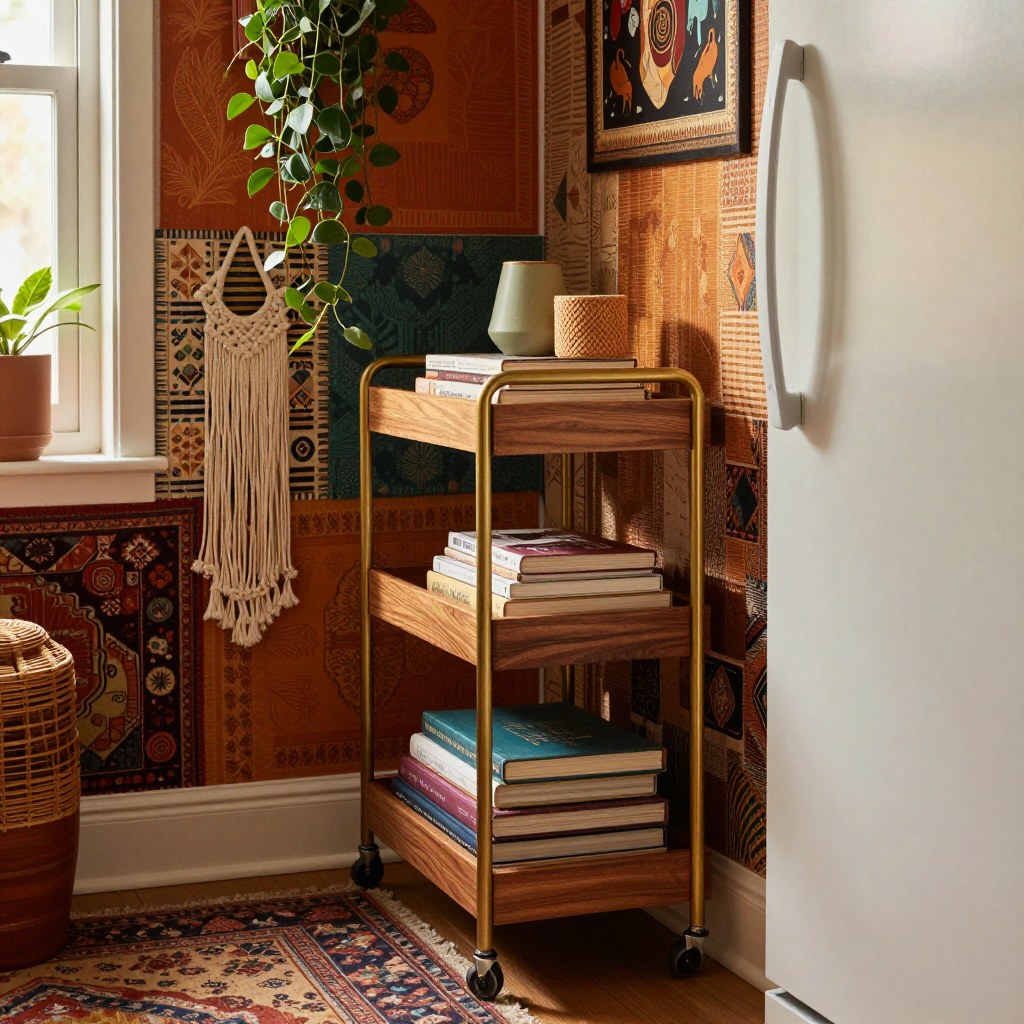
Pick one cabinet to be the pantry cabinet, then use bins inside it to create pull-out categories instead of one deep, mixed pile. Give spices and small bottles vertical space with a tiered shelf or turntable rather than letting them hide flat. Use the back of a door carefully — lightweight items only, and check the door can handle the added weight. Add a slim rolling cart only if there’s a genuine parking gap that won’t block a walkway. Make one grab-and-go bin for snacks so they stop colonizing the counter, and move backup goods out of the primary cooking zone entirely so daily staples aren’t competing with bulk purchases for the same shelf.
Skip a pantry organizer if…
- It requires drilling in a rental, or blocks a cabinet from closing all the way.
- It makes a door too heavy — over-door racks are for lightweight items only, not canned goods.
- It hides expiration dates or creates a second clutter zone instead of solving the first one.
A no-pantry kitchen needs addresses, not containers. If you can’t say where snacks, staples, spices, backup goods, and daily coffee supplies live, the organizers are just little apartments with no tenants.
See the Kitchen hub for the full range of small-kitchen storage picks, and How to Organize a Small Pantry if you do have a small pantry and want to get more out of it.
Winnie’s take: People ask me what to buy first for a no-pantry kitchen and I always say the same unglamorous thing: bins, not brackets. A rack you mount is a bigger commitment than a bin you can just move to a different shelf when your first guess turns out wrong — and your first guess at zoning almost always turns out at least a little wrong.
How we choose
This how to is research-led, not a claim of hands-on laboratory testing. We compare public product specifications, recurring patterns in buyer feedback, and the measurements that matter most for a real small-kitchen constraint. Recommendations are organized by who each option fits, what to measure, and when to skip it—not by commission rate.
Last reviewed: July 8, 2026