
How to Organize a Small Pantry

A small pantry works best when every shelf has a job: daily staples at eye level, cans and jars grouped where you can see them, snacks contained in one zone, and backup items pushed higher or lower. The goal isn’t a perfect matching-container wall — the goal is knowing what you have before you buy it again.
To organize a small pantry, sort food by how often you use it, not just by package type. Keep daily staples at eye level, group cans and jars in visible rows, use small bins for snacks and packets, label opened or decanted items, and rotate older food to the front. Avoid deep mystery zones where duplicates disappear.
A small pantry isn’t failing because it lacks acrylic bins. It’s failing because the pasta has no address, the backup peanut butter is hiding behind the oatmeal, and three cans of tomatoes are pretending they’ve never met.
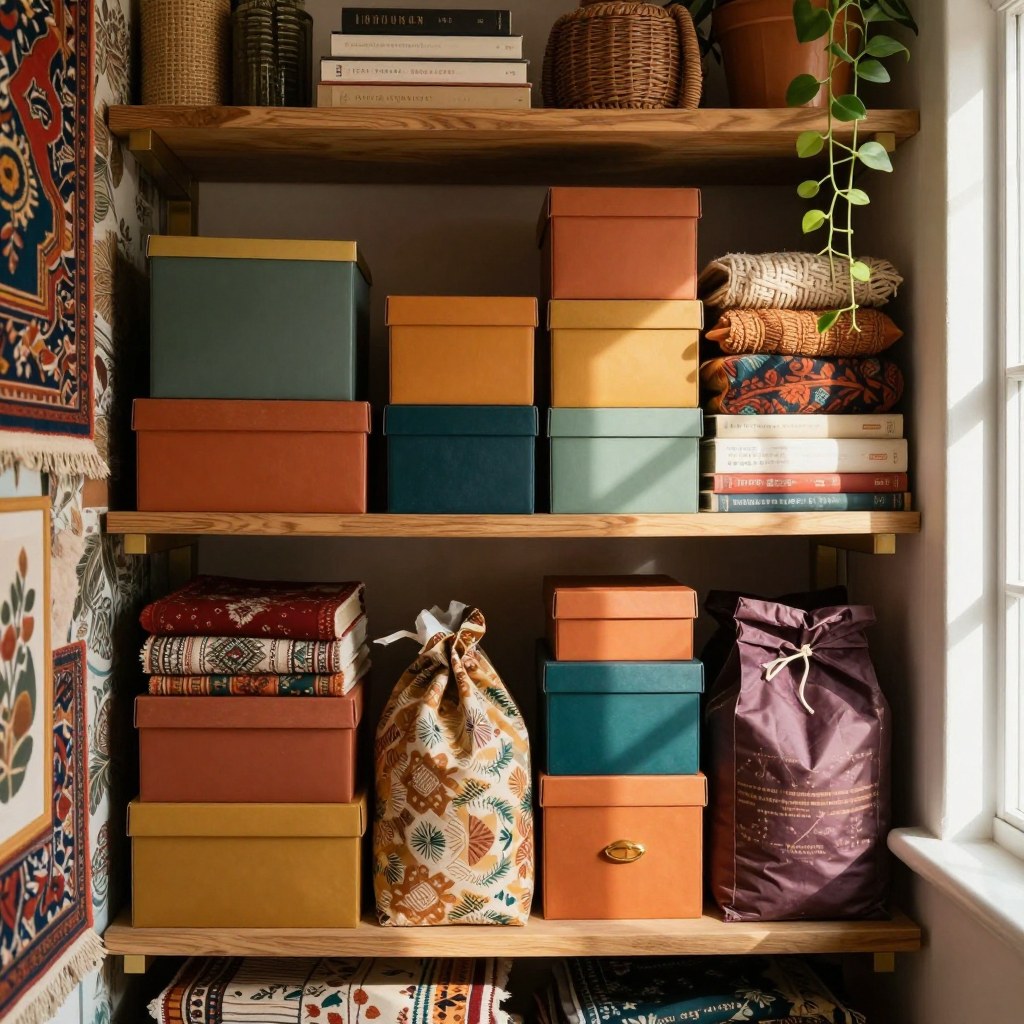
Measure shelves, then count your real categories
Before buying pantry organizers, measure the shelf width, shelf depth, and vertical gap between shelves. Then count the food categories you actually keep — cans, pasta, grains, snacks, baking goods, breakfast, sauces, and backup items. A small pantry usually needs fewer organizers than expected, but each one needs a clear job.
Building the system, shelf by shelf
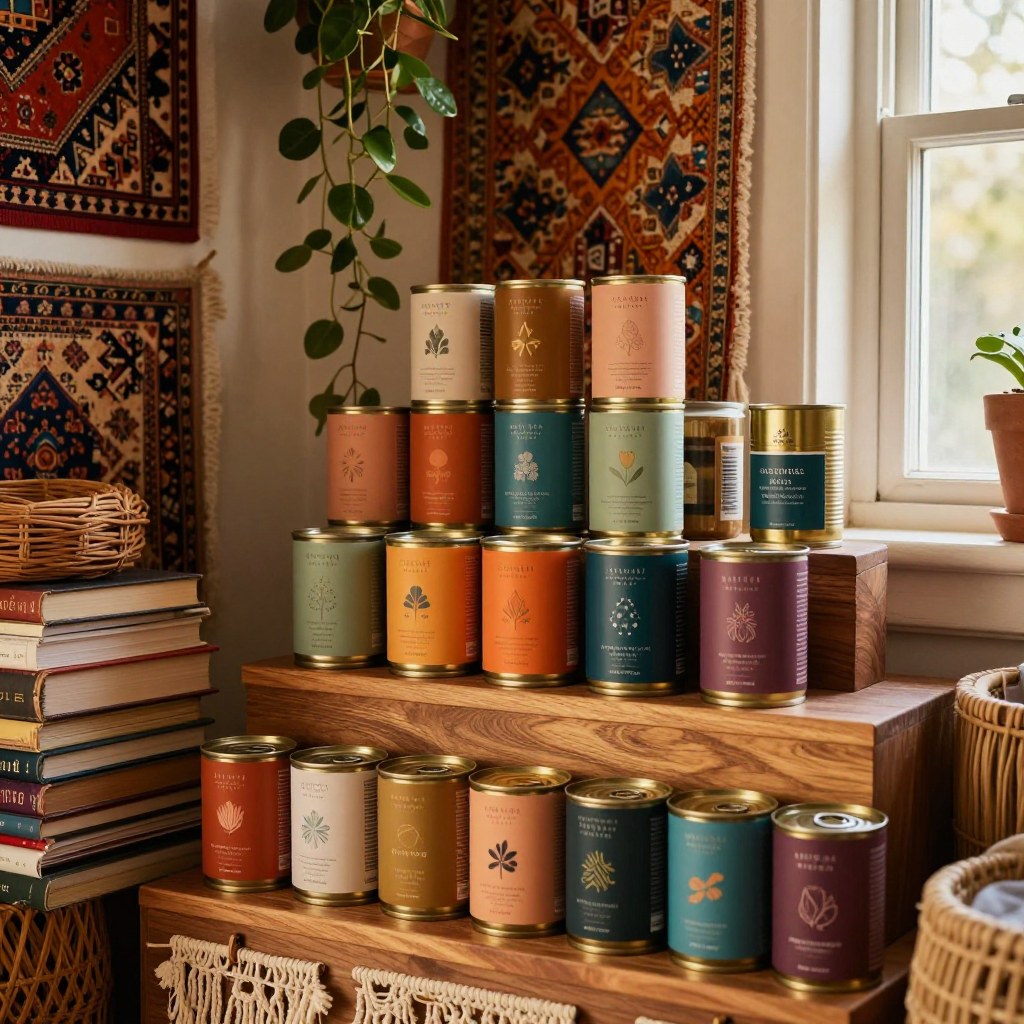
Empty the pantry and sort everything by how often you actually use it, not by container type. Put daily-use food at eye level, where you’ll actually see it before buying a duplicate. Create a can and jar row you can actually see all the way to the back, instead of a deep shelf where the third row disappears. Use bins for loose categories — snacks, packets, small bags — not for everything, since over-binning just relocates the mystery-zone problem. Build a “finish first” zone for opened or nearly-done items so they get used instead of forgotten behind something newer. Date and label only what actually needs it — decanted items, opened bags, anything where the original packaging’s date disappeared. Keep backup goods high or low, out of the prime daily-use real estate. And reset the pantry before grocery shopping, so you’re buying from an accurate picture instead of a guess.
Skip a pantry organizer if…
- You haven’t thrown out expired food or grouped duplicates yet — organizing before that just organizes the clutter.
- It’s a deep bin that hides items instead of surfacing them.
- It blocks the pantry door from closing, or requires constantly decanting food you don’t actually mind keeping in original packaging.
A small pantry should answer three questions in five seconds: what do we have, what needs to be used first, and what should not be bought again?
See Best Stackable Pantry Containers for Small Kitchens for containers that actually fit tight shelves, and How to Organize a Small Kitchen With No Pantry if your kitchen doesn’t have a dedicated pantry at all.

Winnie’s take: The “finish first” zone is the one habit that’s saved me the most money — not the containers, not the labels, just one shallow spot at the front where the almost-empty stuff has to live until it’s actually empty.
How we choose
This how to is research-led, not a claim of hands-on laboratory testing. We compare public product specifications, recurring patterns in buyer feedback, and the measurements that matter most for a real small-kitchen constraint. Recommendations are organized by who each option fits, what to measure, and when to skip it—not by commission rate.
Last reviewed: July 8, 2026