
Classic Beef Chili Recipe (Thick, Never Watery)
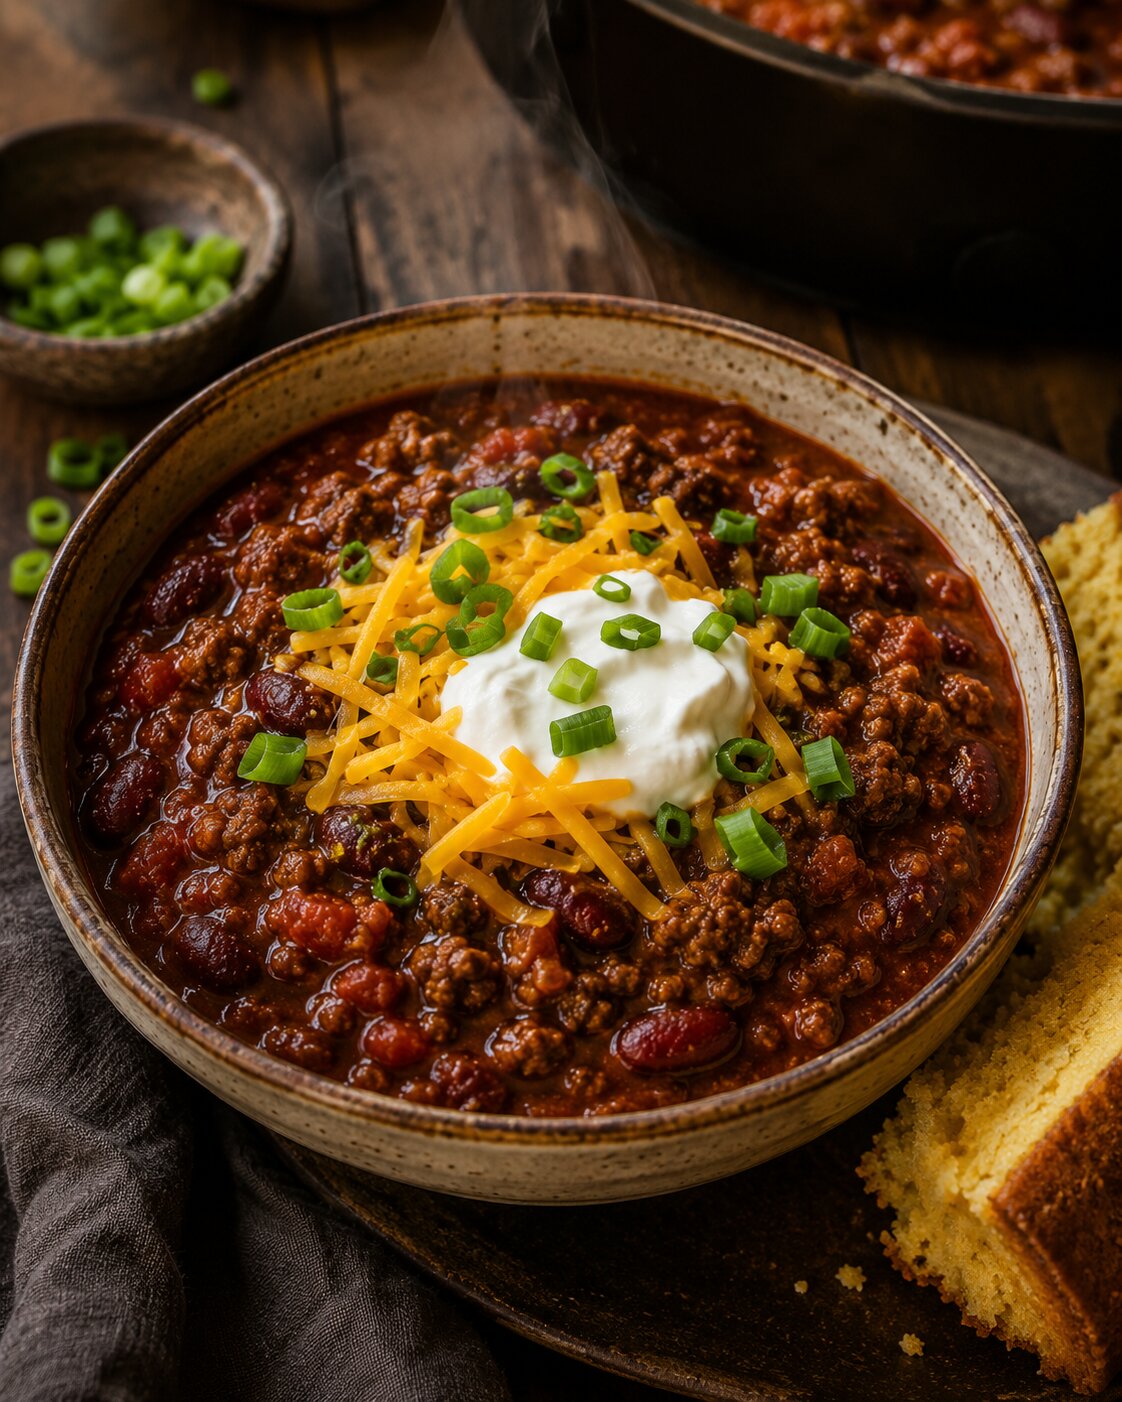
This chili recipe exists because chili has a reputation as one of those recipes everybody already “knows how to make,” which is exactly why so much of it turns out thinner and flatter than the version someone’s uncle swears by. The actual gap almost never comes down to a secret ingredient. It’s two habits: blooming the spices in fat before any liquid goes in, and giving the pot real time uncovered at the end so it can actually reduce. Do those two things and the rest of the recipe is mostly just simmering.
Blooming the spices is not optional
Chili powder, cumin, and paprika are all flavor compounds that dissolve into fat far better than they dissolve into water. Stirring them into hot oil and rendered beef fat for a minute before adding tomatoes or broth wakes up flavor that stays muted if the spices go straight into a simmering liquid. It’s a 90-second step that’s responsible for a surprising amount of the “tastes like it simmered all day” effect people chase.
The lid is the reason yours is thin
Liquid only reduces when steam can actually escape. A chili that simmers covered for its entire cook time traps that steam and just recirculates the moisture — which is why so many home versions stay thin no matter how long they’re on the stove. The fix is simple: simmer covered for the first stretch to let the flavors meld, then take the lid off for the last 20-30 minutes and let it actually thicken. If it’s still not there, a masa harina slurry closes the gap in five minutes without tasting like flour.
It’s better the next day, and that’s useful
Chili is one of the few weeknight dinners that’s genuinely improved by sitting overnight — the flavors have more time to combine, and reheating it is faster than the original cook. If your schedule allows it, making a batch a day ahead isn’t a compromise, it’s arguably the better version of the same recipe.

Tips & variations
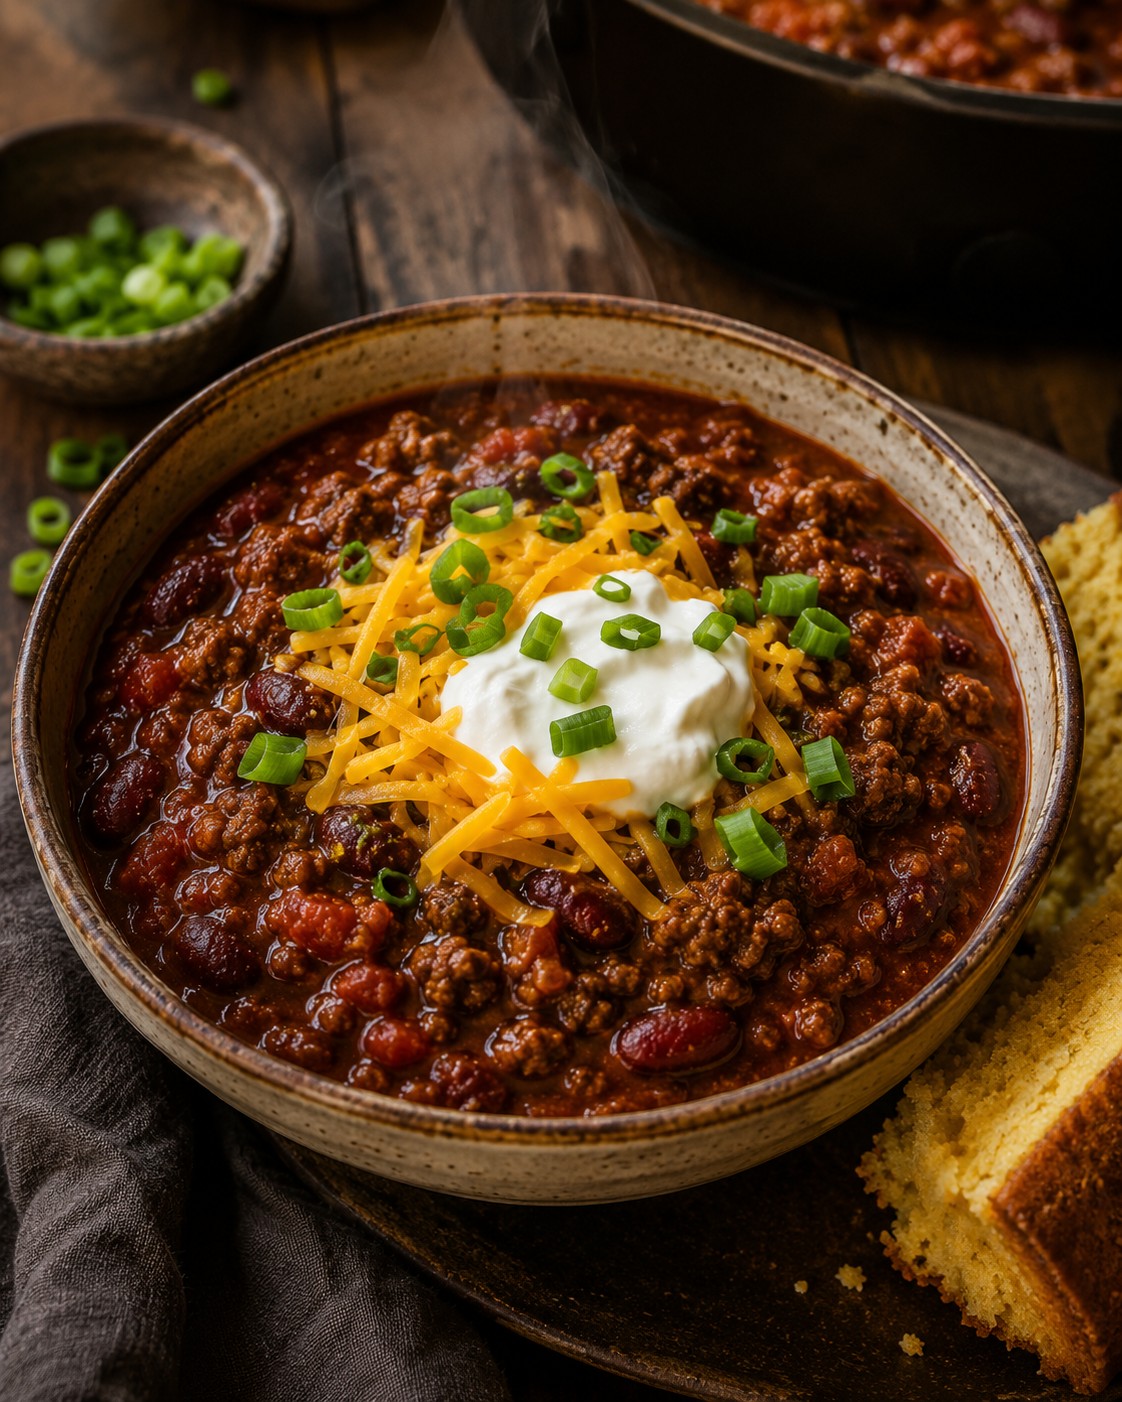
- Don't drain the beef fat before adding the aromatics — it's doing the work of carrying the bloomed spices through the whole pot. This is standard technique, not a shortcut.
- Blooming the spices in hot fat for a minute before adding any liquid wakes up flavor compounds that stay muted if you just dump chili powder into a simmering liquid. It's the difference most people can taste but can't name.
- The uncovered simmer at the end is not optional if you want thick chili — liquid can only reduce with the lid off. Covered the whole time is the most common reason chili turns out soupy.
- Chili genuinely tastes better the next day, after the flavors have had time to meld in the fridge overnight. If you have the time, make it a day ahead.
Classic Beef Chili Recipe (Thick, Never Watery) — Recipe Card
Ingredients
For the chili
Optional thickener
For serving
Instructions
- Brown the ground beef in a large Dutch oven or heavy pot over medium-high heat, breaking it into crumbles, about 6-8 minutes. Don't drain the fat — it's carrying flavor. Remove the beef to a plate, leaving the fat in the pot.
- Add the onion and bell pepper to the fat left in the pot and cook until softened, about 5 minutes. Add the garlic and cook 30 seconds more, until fragrant.
- Stir in the tomato paste, chili powder, cumin, smoked paprika, and cayenne. Cook for 60-90 seconds, stirring constantly — this blooms the spices in the fat and is the single biggest flavor difference between chili that tastes 'simmered all day' and chili that tastes like seasoned tomato sauce.
- Return the beef to the pot. Add the crushed tomatoes, both cans of beans, beef broth, and salt. Stir to combine and bring to a simmer.
- Reduce heat to low, cover, and simmer for 45 minutes, stirring occasionally.
- Remove the lid and simmer uncovered for another 20-30 minutes, stirring occasionally, until the chili has visibly thickened and coats the back of a spoon. This uncovered stretch is what actually thickens chili — most 'thin chili' problems are just a pot that never lost its lid.
- If it's still thinner than you want after that, whisk the masa harina slurry and stir it in, then simmer 5 more minutes — it thickens fast and adds a faint corn flavor that fits the dish.
- Taste and adjust salt. Serve topped with cheddar, sour cream, and green onion.
Estimated nutrition per 1 bowl (of 6), estimate only : ~420 calories. This is a rough estimate for planning, not a substitute for exact dietary tracking.
Frequently asked questions
Why is my chili always thin and watery?
Almost always because it simmered covered the whole time. A lid traps steam and prevents the liquid from reducing. Simmer uncovered for at least the last 20-30 minutes to let it thicken naturally.
How do I thicken chili without it tasting like flour or cornstarch?
Whisk a couple tablespoons of masa harina (or crushed corn tortillas) into a little water and stir it in during the last few minutes of simmering. It thickens quickly and adds a mild corn flavor that actually complements chili, instead of tasting starchy.
Can I make this in a slow cooker instead?
Yes — brown the beef and bloom the spices in a skillet first (don't skip this step, it matters more than the cooking vessel), then transfer everything to a slow cooker and cook on low for 6-7 hours. Leave the lid cracked for the last hour if it needs to thicken.
How we choose
This recipe is research-led, not a claim of hands-on laboratory testing. We compare public product specifications, recurring patterns in buyer feedback, and the measurements that matter most for a real small-kitchen constraint. Recommendations are organized by who each option fits, what to measure, and when to skip it—not by commission rate.
Last reviewed: July 4, 2026