
How to Cook Without a Dishwasher in a Small Kitchen
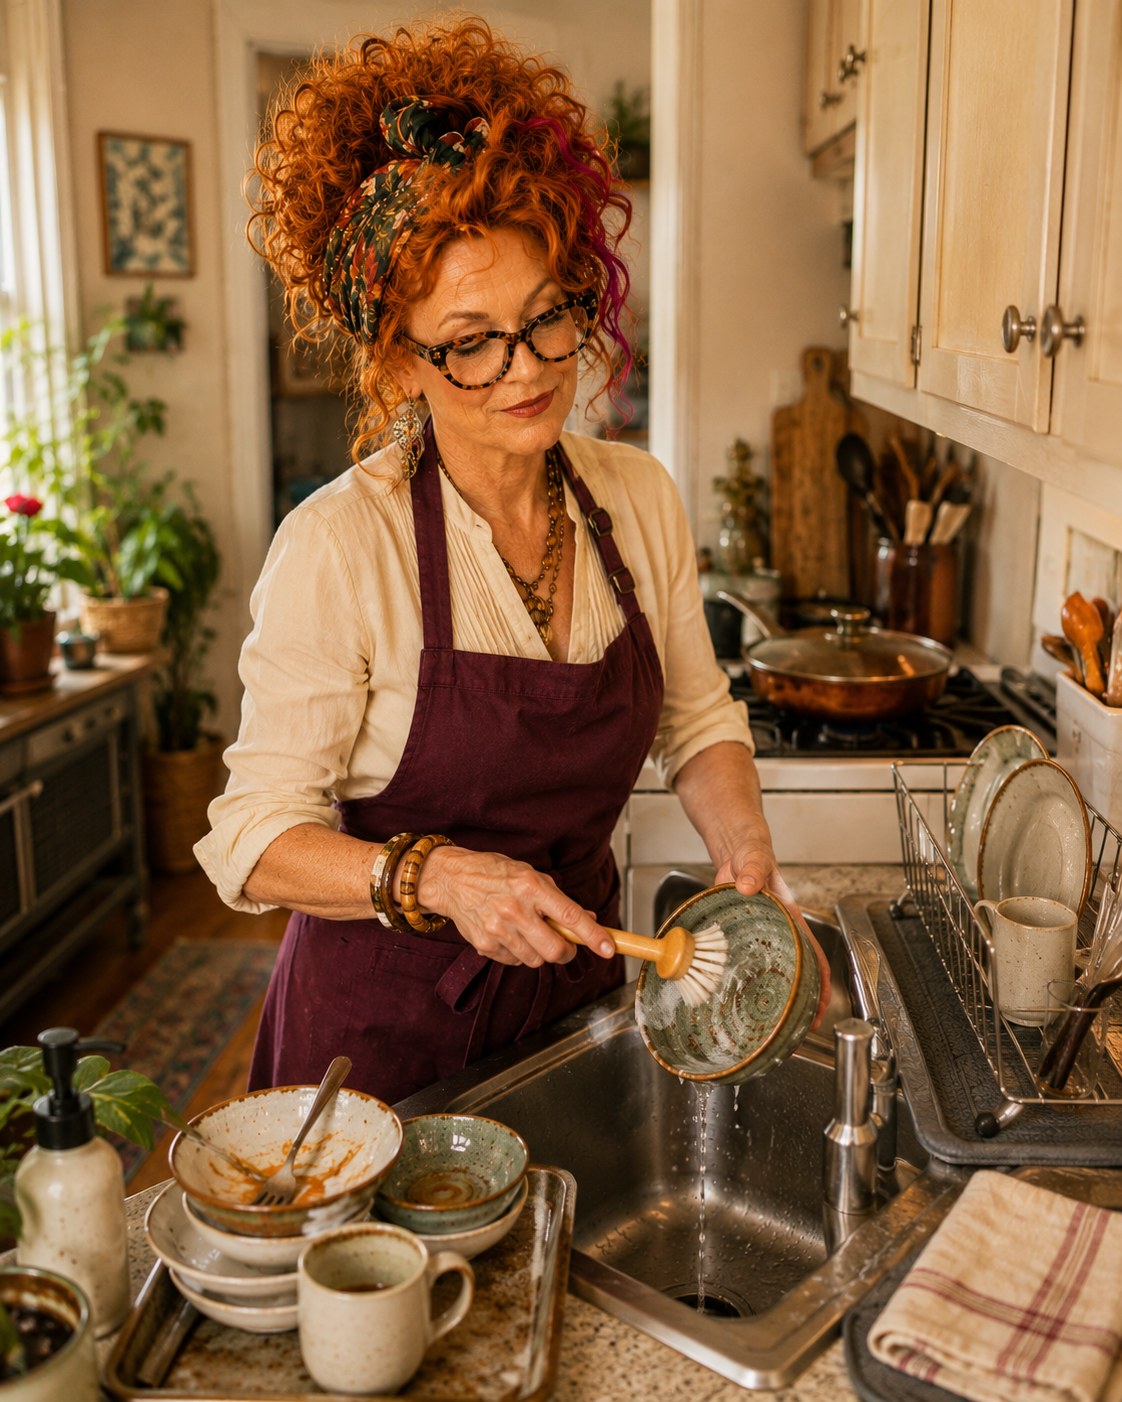
Cooking without a dishwasher is manageable. Cooking without a dishwasher and letting every bowl, pan, utensil, and cutting board wait until bedtime is how a small kitchen turns hostile. The solution is not washing constantly. It is designing the meal so the sink stays usable and the dish load never becomes one giant event.
To cook without a dishwasher, choose meals with one main cooking vessel, clear the sink before heat goes on, and wash in two or three short rounds instead of one end-of-night pile. Scrape or soak cookware immediately, move from glasses and utensils toward greasier pans, rinse thoroughly, and air-dry on a compact rack. The rack's capacity should limit the batch—not become permanent counter storage.
Check the sink, landing zone, and drying footprint first
Identify three small zones before dinner: a sink basin that stays available, a place for scraped or soaking cookware, and an air-drying area that does not consume the entire prep counter. Measure any rack in its open position and decide where it goes when empty. If the rack is always full of yesterday’s dishes, tonight’s workflow has already lost its landing zone.
1. Pick a low-dish meal format
The easiest no-dishwasher dinners are built around one main vessel:
- one-pot pasta
- skillet meals
- sheet-pan protein and vegetables
- soup with toast or salad
- rice or grain bowls with one cooked topping
- tacos or wraps with one hot filling
- baked pasta assembled in the serving dish
A recipe can be simple and still create a sink full of equipment. Count vessels before ingredients: cutting board, knife, mixing bowl, pan, strainer, serving bowl, plates. Remove any step that exists only because the recipe assumes unlimited cleanup capacity.
2. Begin with an empty sink
Do not start cooking over breakfast mugs, lunch plates, or yesterday’s pan. A clear sink is part of the cooking surface in a small kitchen: you need it to rinse produce, drain food, clean a knife, and safely park a used tool.
A five-minute pre-cook reset is usually easier than trying to work around a pile once heat is on.
3. Build a wash-rinse-dry path
The simplest setup is linear:
- Scrape food into trash or compost.
- Wash in the basin or a compact wash tub.
- Rinse under clean running water.
- Place on a clean rack with enough spacing to air-dry.
Keep clean dishes moving away from the dirty side. In a single-basin sink, a small removable tub can preserve part of the sink for rinsing, but it should be easy to lift and empty safely.
4. Scrape immediately; soak selectively
Most “impossible” hand-washing is dried food that sat too long. Scrape plates and pans while residue is still soft. Add a small amount of warm soapy water to sticky cookware and let it sit while you eat.
Do not fill every used vessel with water by reflex. That creates a counter full of heavy bowls and pans. Soak only what genuinely needs time.
5. Wash one round while the meal cooks
Use natural waiting periods:
- while water boils, clean the cutting board and knife
- while a sheet pan roasts, wash prep bowls and measuring tools
- while soup simmers, clear packaging and wash the first utensils
- after transferring food to a serving bowl, wash the cooking vessel before residue sets
This is not “clean as you go” as a moral philosophy. It is traffic control. Each short round protects the sink for the next cooking step.
6. Wash from least greasy to most greasy
A practical order keeps wash water and tools cleaner longer:
- glasses and cups
- lightly used utensils
- plates and bowls
- prep tools and cutting boards
- oily containers
- greasy cookware
Items that touched raw meat, poultry, seafood, or eggs should be kept separate from ready-to-eat food and cleaned promptly. Wash hands and surfaces after handling higher-risk raw foods, and follow the item’s care instructions.
7. Rinse thoroughly and air-dry
Air-drying keeps a reused damp towel from becoming the final thing that touches every clean plate. Give dishes room to drain instead of nesting wet bowls together. Clean the rack itself regularly; it is part of the washing system, not a decorative platform that never needs attention.
Use a clean towel only when you need an item immediately, and replace or launder kitchen towels frequently.
8. Put dry dishes away before the next meal
A dish rack should be a temporary drying zone. Once dishes are dry, return them to cabinets so the rack is ready for the next batch. In a tiny kitchen, the rule is simple: when the rack is full, put away what is dry before washing more.
The two-round dinner routine
For many small households, this rhythm works:
Round one, before eating: wash the knife, board, prep bowl, and any tool no longer needed.
Round two, after eating: wash plates, serving pieces, and the main cooking vessel.
That split prevents a mountain without turning dinner into a continuous cleaning shift.
Do not buy a countertop dishwasher if…
- It would permanently occupy the only safe food-prep surface.
- You do not have a stable drain route that cannot spill onto the floor or cabinets.
- The door cannot open without blocking a walkway or sink.
- The outlet, circuit, or lease rules do not support the appliance.
- Your household creates only a very small dish load that a two-round routine already controls.
- You are hoping a machine will solve clutter caused by leaving clean dishes in the rack or sink.
A countertop dishwasher can be useful, but it is a capacity trade: less hand-washing in exchange for counter space, filling, drainage, and storage of the machine itself.
A minimal no-dishwasher setup
You do not need a complicated sink system. The useful basics are:
- one effective dish soap
- one brush or scrubber that dries between uses
- a small scraper for stuck food
- a rack sized to one realistic batch
- a washable drying mat if the rack drains poorly
- clean kitchen towels rotated frequently
- gloves if detergent or frequent water exposure irritates your skin
The rack is the only item that needs serious space planning. Everything else should store beside or under the sink without taking over food-prep drawers.
Frequently asked questions
How do you keep up with dishes when you do not have a dishwasher?
Wash in short rounds instead of saving everything for the end. Keep the sink clear before cooking, scrape or soak cookware immediately, wash the least greasy items first, and air-dry on a rack with a fixed capacity.
What meals create the fewest dishes?
One-pot pasta, skillet dinners, sheet-pan meals, soups, grain bowls, tacos with one cooked filling, and meals served from the cooking vessel usually create the smallest cleanup load.
Is air-drying better than towel-drying dishes?
Air-drying avoids transferring residue from a damp or reused towel back onto clean dishes. Keep the rack clean, space items so air can circulate, and use a clean towel only when an item must be dried immediately.
Is a countertop dishwasher worth it?
It can be when hand-washing is the main daily bottleneck and you have a safe counter, outlet, fill routine, and drain path. It is not a good fit when the machine would consume the only prep zone or be difficult to drain safely.
Winnie’s take: The sink is not a waiting room. Keep it open, wash one small round while something simmers, and let the drying rack have a legal occupancy limit. Suddenly the kitchen stops filing noise complaints.
How we choose
This how to is research-led, not a claim of hands-on laboratory testing. We compare public product specifications, recurring patterns in buyer feedback, and the measurements that matter most for a real small-kitchen constraint. Recommendations are organized by who each option fits, what to measure, and when to skip it—not by commission rate.
Last reviewed: July 10, 2026