
Classic Apple Pie Recipe (No Soggy Bottom, No Watery Filling)
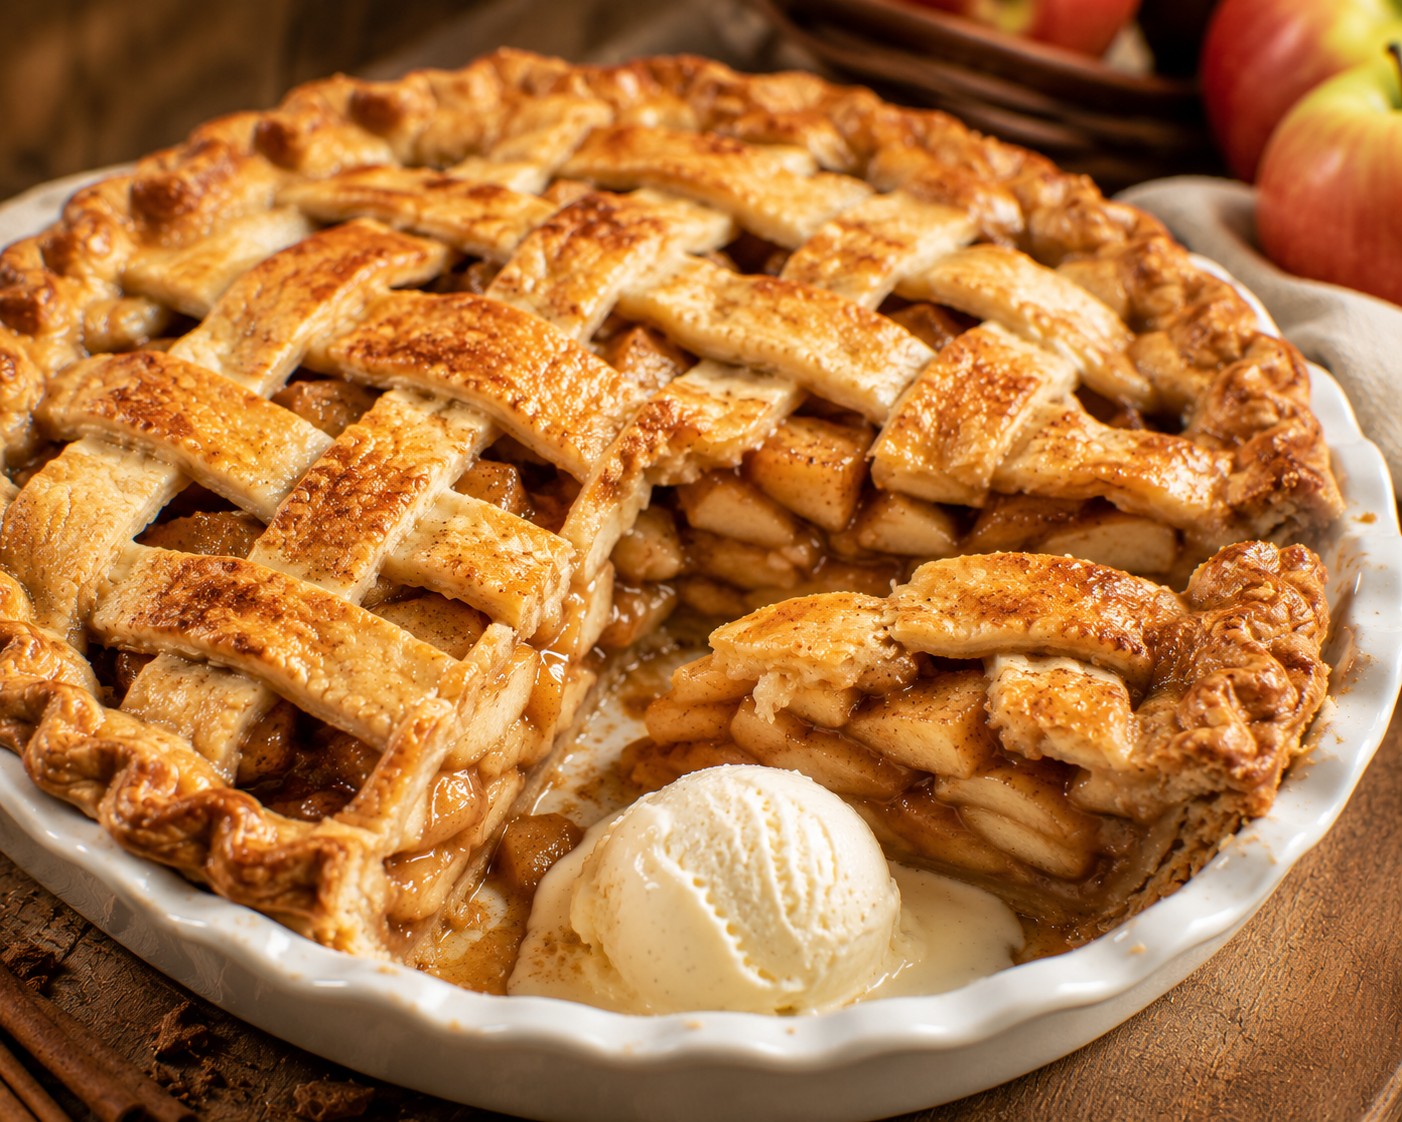
This apple pie recipe exists to fix the two failures that show up in almost every homemade version: a watery, soupy filling and a soggy bottom crust underneath it. Neither is about the apples themselves — both come down to managing the water apples release once they’re sliced and sugared.
Apples release more water than you’d expect
Slicing and sugaring apples starts a maceration process that pulls a genuinely surprising amount of liquid out of the fruit within thirty to forty-five minutes. Most recipes fold that liquid straight into the pie, which is exactly how you end up with a filling that’s more soup than pie once it’s baked. Draining that liquid off, reducing it separately into a syrup, then folding it back in keeps every bit of the flavor while removing the raw water that was going to compromise the crust.
The bottom crust needs a head start
Even well-drained apples still carry some moisture, and a raw bottom crust sitting under filling for nearly an hour of baking has a lot of time to soften. A short blind-bake — just until the crust is set but not browned — gives it a partial seal before the wet filling ever touches it. It’s a second line of defense on top of the drain-and-reduce step, not a substitute for it.
Cooling time is part of the recipe
Apple pie filling is thickened with cornstarch, and cornstarch needs time and a drop in temperature to fully set. A pie cut straight out of the oven, however tempting on a fall afternoon, will always run more than the same pie sliced a few hours later. If the schedule allows it, baking earlier in the day and cutting it that evening gives the cleanest slice.

Tips & variations
- Draining the macerated apples and reducing the liquid separately is the single biggest fix for watery pie filling — it lets you keep all the flavor while removing the excess water that would otherwise turn a good crust soggy from underneath.
- Blind-baking the bottom crust for a few minutes before filling creates a partial seal against moisture, which matters even after you've drained the apples — it's a second layer of insurance, not a replacement for the drain step.
- Mix apple varieties for the best texture: a firm, tart apple like Granny Smith holds its shape, while a sweeter apple like Honeycrisp softens slightly and helps bind the filling together.
- Let the pie cool for several hours, not just until it's not hot anymore — the filling is still thickening as it cools, and a same-hour slice will run all over the plate.
Classic Apple Pie Recipe (No Soggy Bottom, No Watery Filling) — Recipe Card
Ingredients
For the filling
For assembly
Instructions
- Toss the sliced apples with both sugars, lemon juice, cinnamon, nutmeg, and salt in a large bowl. Let sit at room temperature for 30-45 minutes — the sugar draws out the apples' excess water, which is the step most recipes skip.
- Drain the accumulated liquid from the bowl into a small saucepan (there will be a surprising amount — this is normal and exactly the point). Simmer the drained liquid over medium heat until reduced to a thick, syrupy glaze, about 5-8 minutes.
- Toss the drained apples with the cornstarch until evenly coated, then fold the reduced syrup back into the apples. This keeps all the flavor while removing the raw water that would otherwise turn the crust soggy.
- Preheat oven to 425°F (220°C). Blind-bake the bottom crust: line it with parchment and pie weights (or dried beans), and bake for 12 minutes. Remove weights and parchment and bake 3-5 minutes more, until just barely set but not browned. This pre-seals the bottom crust against the filling.
- Fill the par-baked bottom crust with the apple mixture, dotting the top with butter pieces. Top with the second crust (lattice or full sheet with vents cut), crimping the edges to seal.
- Brush the top crust with egg wash and sprinkle with coarse sugar if using. Bake at 425°F (220°C) for 20 minutes, then reduce heat to 375°F (190°C) and bake 30-35 minutes more, until the crust is deep golden and filling is bubbling through the vents.
- Cool on a wire rack for at least 3-4 hours before slicing — apple pie filling needs this time to set, and cutting too early gives you a soupy first slice.
Estimated nutrition per 1 slice (of 8), estimate only : ~380 calories. This is a rough estimate for planning, not a substitute for exact dietary tracking.
Frequently asked questions
Why is my apple pie filling always watery?
Apples release a large amount of water once sliced and sugared, and if that water goes straight into the pie without being drained and reduced first, it has nowhere to go but into the crust. Macerate the apples, drain the liquid, reduce it separately, then fold it back in.
Do I really need to blind-bake the bottom crust?
It helps, especially combined with draining the apples — the par-baked bottom creates a partial moisture barrier before the wet filling ever touches it. Skipping it isn't fatal if you've drained the apples well, but it's cheap insurance against a soggy bottom.
How long should apple pie cool before slicing?
At least 3-4 hours, ideally longer. The cornstarch-thickened filling needs that time to fully set as it cools — a pie sliced while still warm will be visibly runnier than the same pie sliced later that evening.
How we choose
This recipe is research-led, not a claim of hands-on laboratory testing. We compare public product specifications, recurring patterns in buyer feedback, and the measurements that matter most for a real small-kitchen constraint. Recommendations are organized by who each option fits, what to measure, and when to skip it—not by commission rate.
Last reviewed: July 8, 2026