
How to Pet-Proof a Rental Apartment
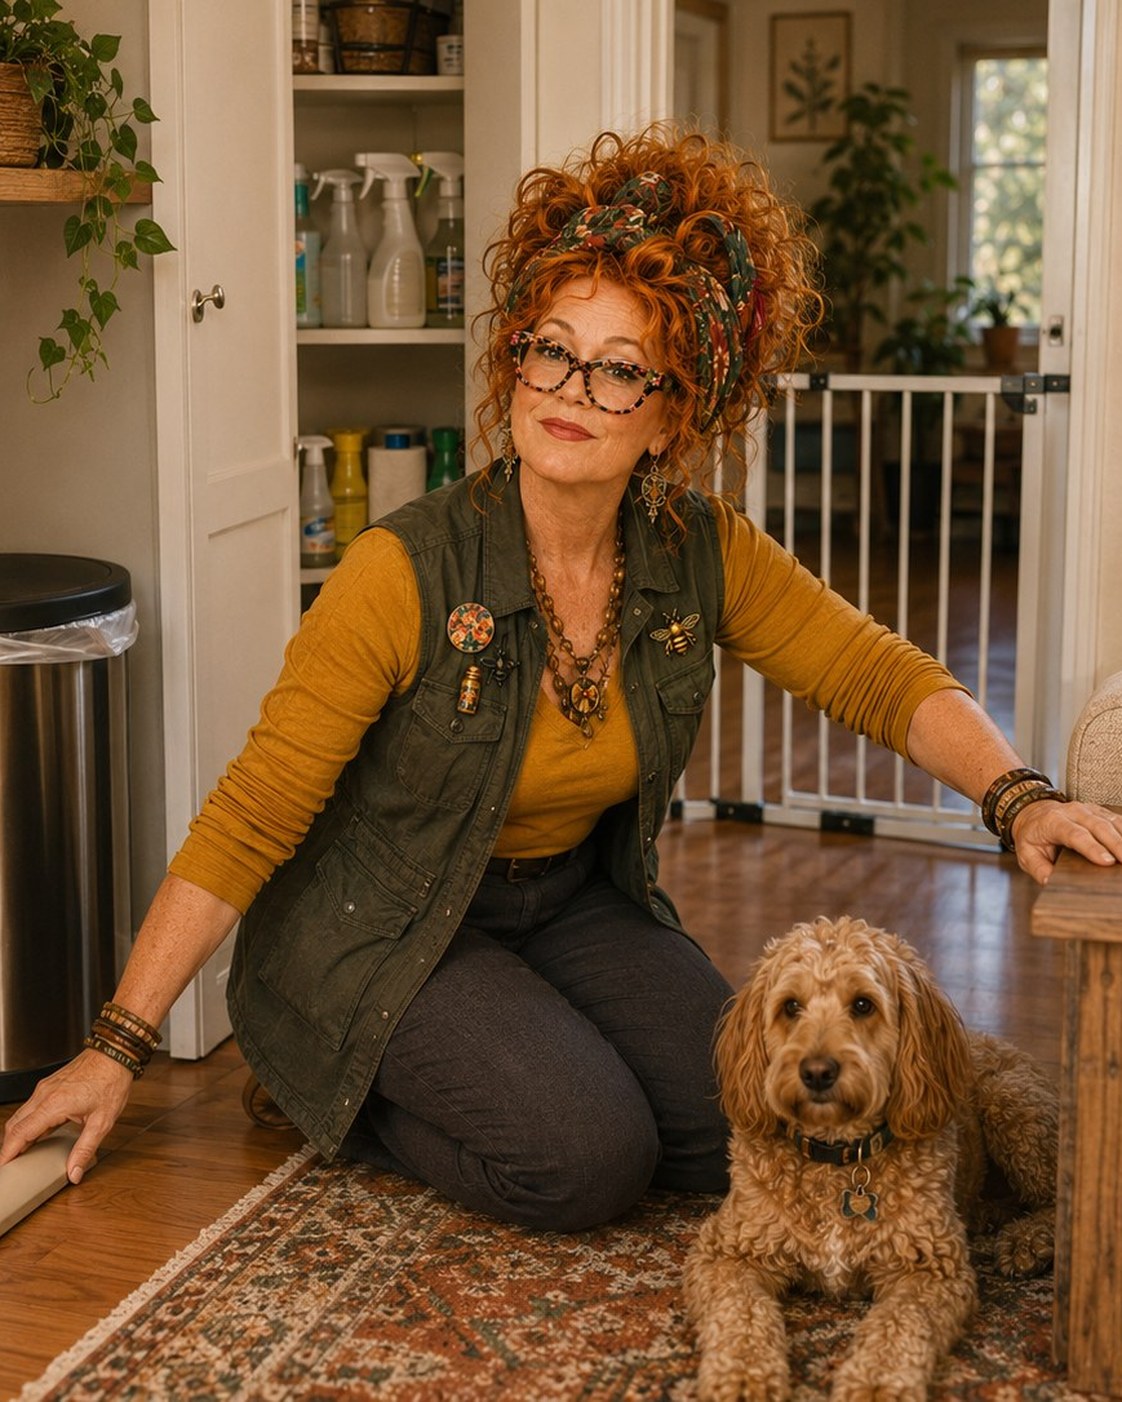
Pet-proofing a rental is less about wrapping the apartment in plastic and more about controlling access. The safest plan removes hazards first, then uses reversible barriers and washable protection where daily life still needs a boundary. No product can promise a damage-free lease outcome, and this page does not provide legal or lease advice.
Pet-proof a rental apartment by removing access to cords, medications, cleaners, trash, unsafe plants, loose window screens, and unstable furniture before buying barriers. Create clear feeding, litter, sleep, and play zones, then add reversible protection only where needed. Test adhesives on hidden areas, follow installation instructions, and never use a pressure-mounted gate at the top of stairs.
Walk the apartment at pet height
Crouch to the pet’s eye level and trace routes under furniture, behind appliances, toward windows, cords, trash, doors, and shelving. Measure gaps, gate openings, window access, chew reach, jump paths, and the footprint of every protective item. Repeat with doors, recliners, and appliances moving.
1. Remove ingestible and chemical hazards
Secure medications, cleaners, laundry products, pest products, batteries, small objects, and food that should not be accessible. Use closed cabinets appropriate to the household and never rely on a decorative basket as containment.
2. Control cords and powered devices
Unplug unused cords, route necessary cables behind stable furniture or through suitable covers, and prevent access to charging blocks and loose loops. Keep fountain and appliance connections dry.
3. Inspect windows, balconies, and exterior doors
Check screens, latches, gaps, blind cords, and the route to every exterior opening. Do not treat an ordinary insect screen as guaranteed pet containment. Structural changes or balcony enclosures are outside this guide.
4. Stabilize climbable furniture
Follow manufacturer anti-tip instructions for shelving, cat trees, televisions, and tall furniture. Remove unstable stacks and keep tempting landing surfaces away from breakables or hot equipment.
5. Secure trash and food storage
Use lidded, stable containers and keep pet food in a cool, dry, secured location. Preserve original packaging when possible. Do not leave scoops, bags, or treats within reach.
6. Build clear pet zones
Give litter, feeding, sleeping, and activity areas enough room to function without blocking human paths. A pet zone should reduce traffic conflict, not compress the animal into a dead end.
7. Add the least invasive barrier that works
Use a properly measured pressure gate for an appropriate doorway, a freestanding divider for a calm pet and low-consequence boundary, or closed storage where a gate would create a trip hazard. See the no-drill gate guide.
8. Protect surfaces with washable layers
Use correctly fitted couch covers, washable mats, runners, and removable bed covers. Test backing, adhesive, and grip materials before full installation.
9. Recheck after the pet learns the room
New routes appear when a pet grows, becomes more confident, or watches a door open. Inspect barriers, cords, latches, and wear regularly and revise the layout.
Do not use a rental pet-proofing product if…
- It creates a trip, pinch, entrapment, or blocked-exit hazard.
- The pet can chew, climb, push, or swallow part of it.
- The adhesive or backing is untested on the rental surface.
- The installation requires structural work outside the household’s approved plan.
- The product is being treated as a guarantee about deposits, landlord approval, or lease outcomes.
Documenting existing conditions and checking rental terms may be sensible, but this article does not provide legal advice or promise a particular landlord response.
Frequently asked questions
What should I pet-proof first in a rental apartment?
Start with immediate access hazards: loose cords, open windows or balconies, toxic or chewable items, trash, medications, cleaning products, unstable furniture, and doors that lead outside. Then organize feeding, litter, and rest zones.
Can I use adhesive pet-proofing products in a rental?
Adhesives may mark paint, finishes, or fabric. Test a hidden area, follow the product and surface instructions, and do not assume removable means damage-free. This guide is practical household guidance, not lease advice.
Are pressure-mounted gates renter-friendly?
They avoid basic drilling in suitable doorways, but pressure pads and wall cups can still mark surfaces. They are not appropriate for every pet or location, and pressure gates should not be used at the top of stairs.
How often should I recheck pet-proofing?
Recheck after moving furniture, changing pets’ size or mobility, adding appliances, noticing new chewing or climbing routes, and during routine cleaning. Remove damaged or loose protective items immediately.
Winnie’s take: Pet-proofing starts by removing the exciting forbidden snack, not by buying a tiny velvet rope and hoping the dog respects the concept of private property.
How we choose
This how to is research-led, not a claim of hands-on laboratory testing. We compare public product specifications, recurring patterns in buyer feedback, and the measurements that matter most for a real small-space pet-care constraint. Recommendations are organized by who each option fits, what to measure, and when to skip it—not by commission rate.
Last reviewed: July 11, 2026